VS Code GitHub CoPilot

ONETICK CLOUD MCP | CONNECTION INSTRUCTIONS


Use the following instructions to get started with VS Code GitHub CoPilot:


  • Open Profiles and select MCP Servers (e.g. File - Preferences - Profiles). Double Click on MCP Servers.

  • This either opens the file mcp.json, or states the file was not found.

  • Fill in the required fields Server name, Server description, and Server URL

    {

    "servers": {

    "OneTick-Cloud": {

    "url": "https://mcp.cloud.onetick.com/mcp"

    }

    },

    "inputs": []

    }

  • Save the file.

  • This should result in a MCP Servers being enabled: "OneTick-Cloud." Click "Start," which should appear under the "servers" tag.

  • After a few seconds a dialog should open to: The MCP Server Definition 'OneTick-Cloud' wants to authenticate to mcp.cloud.onetick.com. Click "Allow."

  • Another dialog opens showing: Do you want Code to open the external website? Click "Open."

  • A New browser window is opened. Click "Allow Access."

  • This redirects the page to the OneTick Cloud Login. Please login as usual to OneTick Cloud using your userid and password.

  • This redirects stating 'Sign-on Successful! Returning to Visual Studio Code...." and opens a further dialog "Open Visual Studio Code?" Click "Open Visual Studio Code."

  • Returning back to Visual Studio, with "Start" replaced with "Running."

  • Verify servers are connected: Ctrl+Shift+P → MCP: List Servers.

  • Open GitHub Copilot Chat to use the OneTick tools.


< Back to MCP Main Page


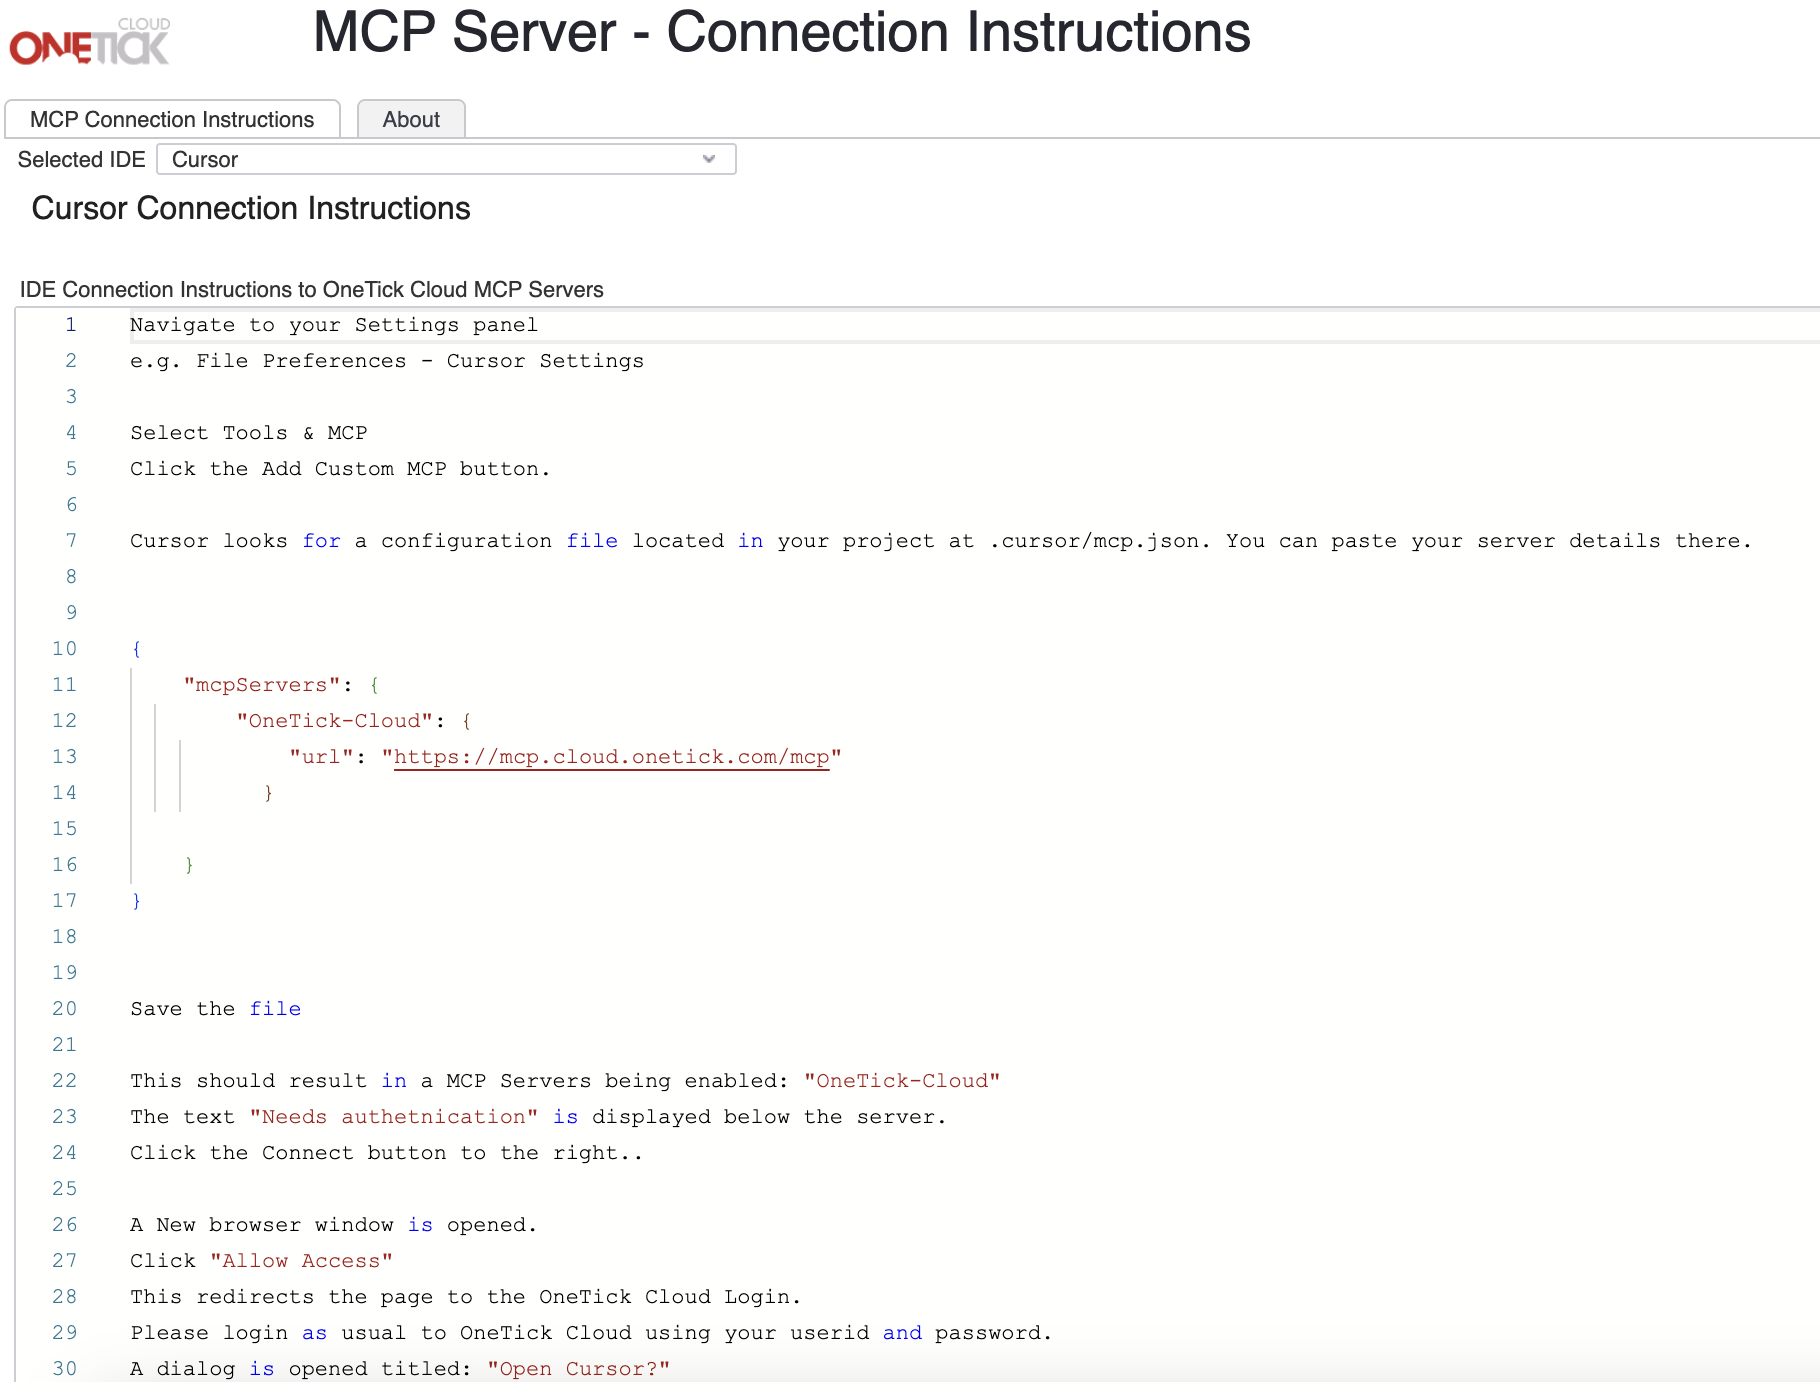
Screenshot 2026-05-18 at 3.49.08 PM


OneTick Cloud MCP Server - Connection Instructions

Login to your OneTick Cloud account today to get started.


Login Here