Use the following instructions to get started with Junie by JetBrains:
-
Navigate to your Settings panel and select Tools - Junie - MCP Settings. Click the Plus Icon to Edit the MCP Configuration.
-
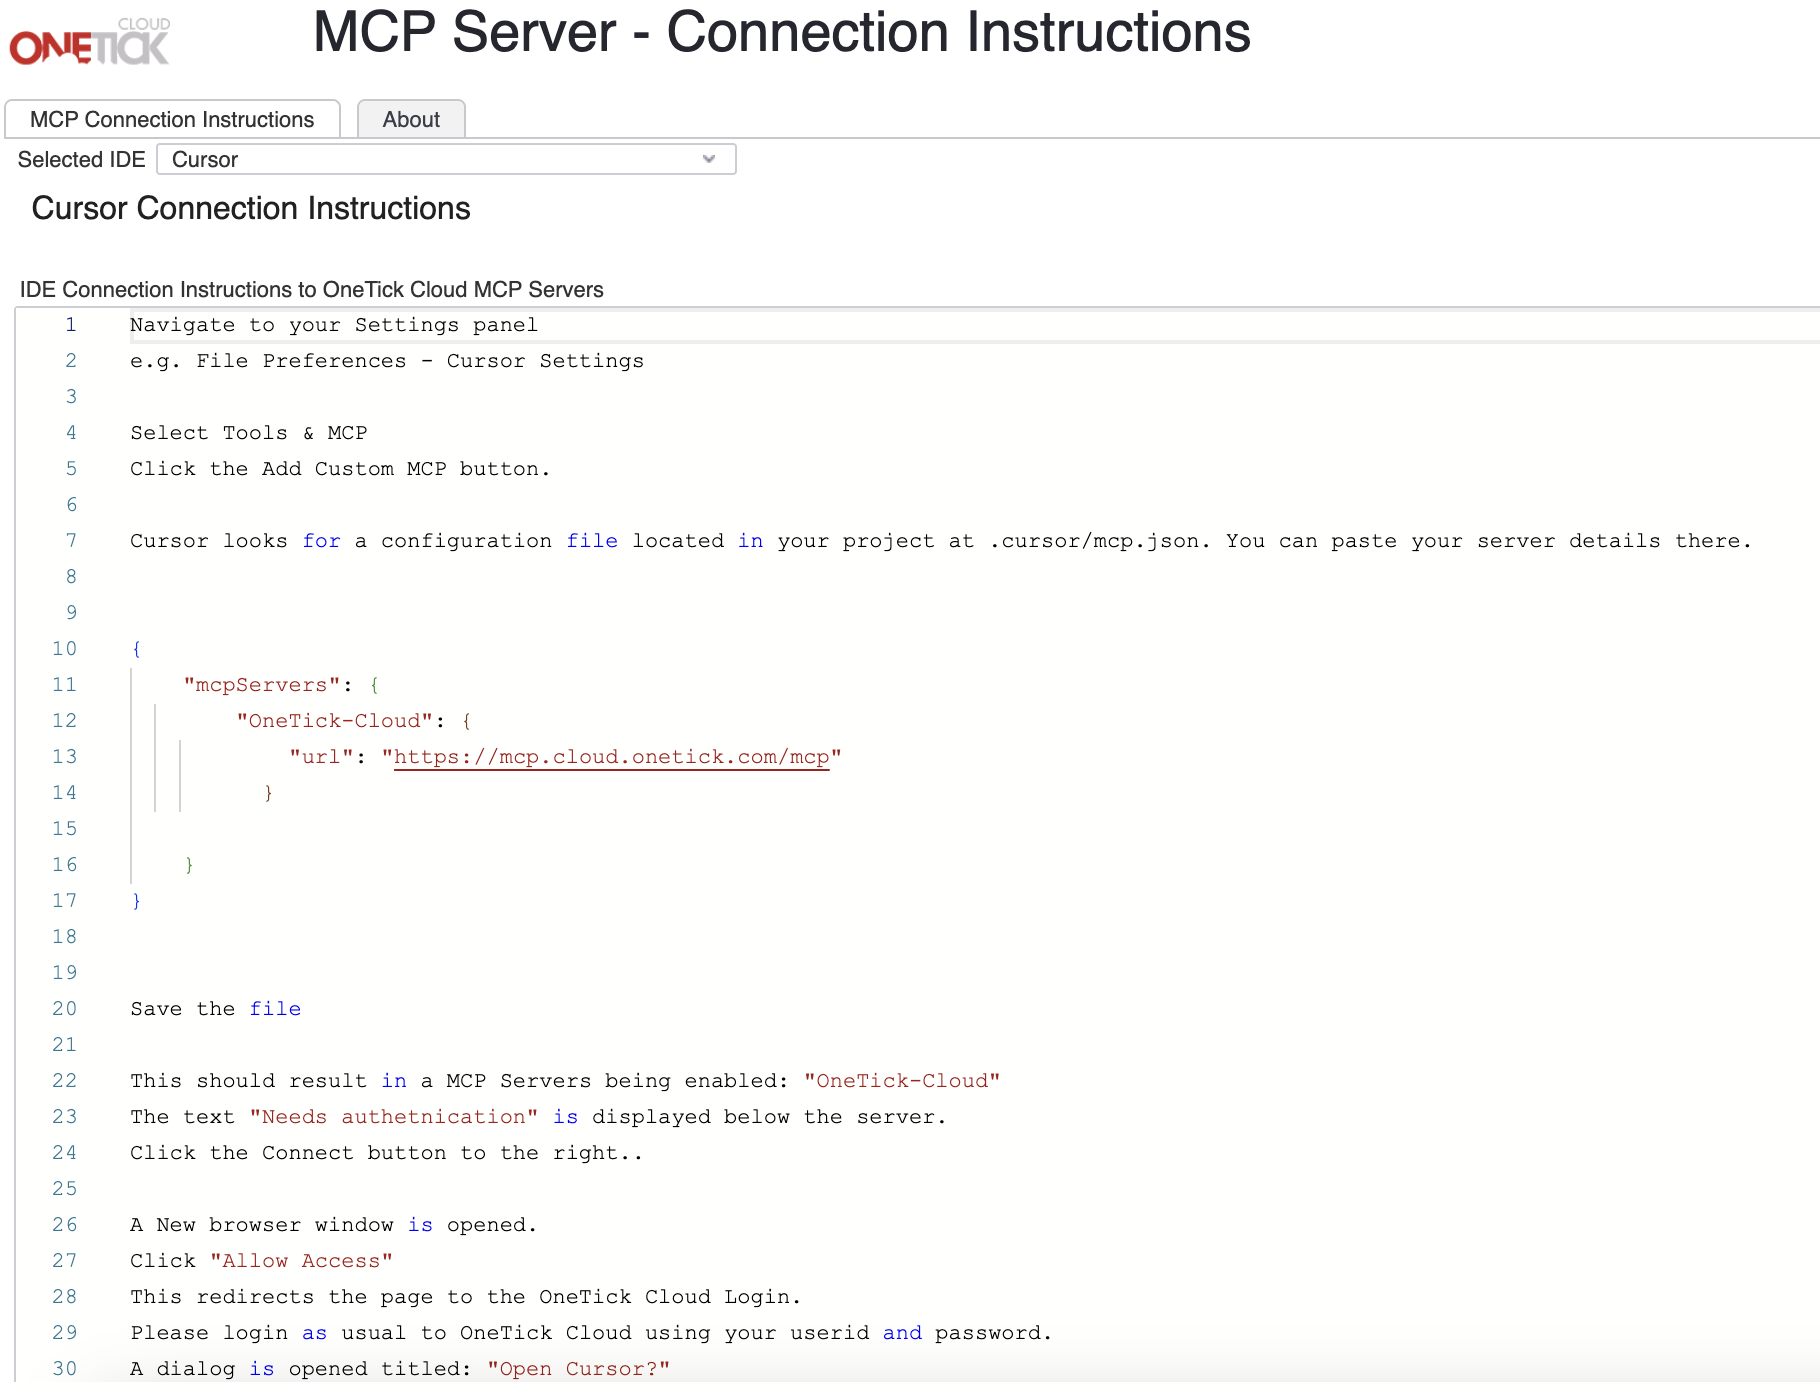
Junie looks for a configuration file located in your profile at .junie/mcp/mcp.json. You can paste your server details there or directly onto the Dialog.
{
"mcpServers": {
"OneTick-Cloud": {
"url": "https://mcp-python.cloud.onetick.com/mcp"
}
}
}
-
Save the file or click Ok to the dialog.
-
This results in a MCP Server being enabled: OneTick-Cloud.
-
The Status now shows a Green circle with a white tick. Click 'OK' to close the dialog.
-
Click on the AI Chat Icon, to open the Chat Panel and start a chat session with Junie.
< Back to MCP Main Page