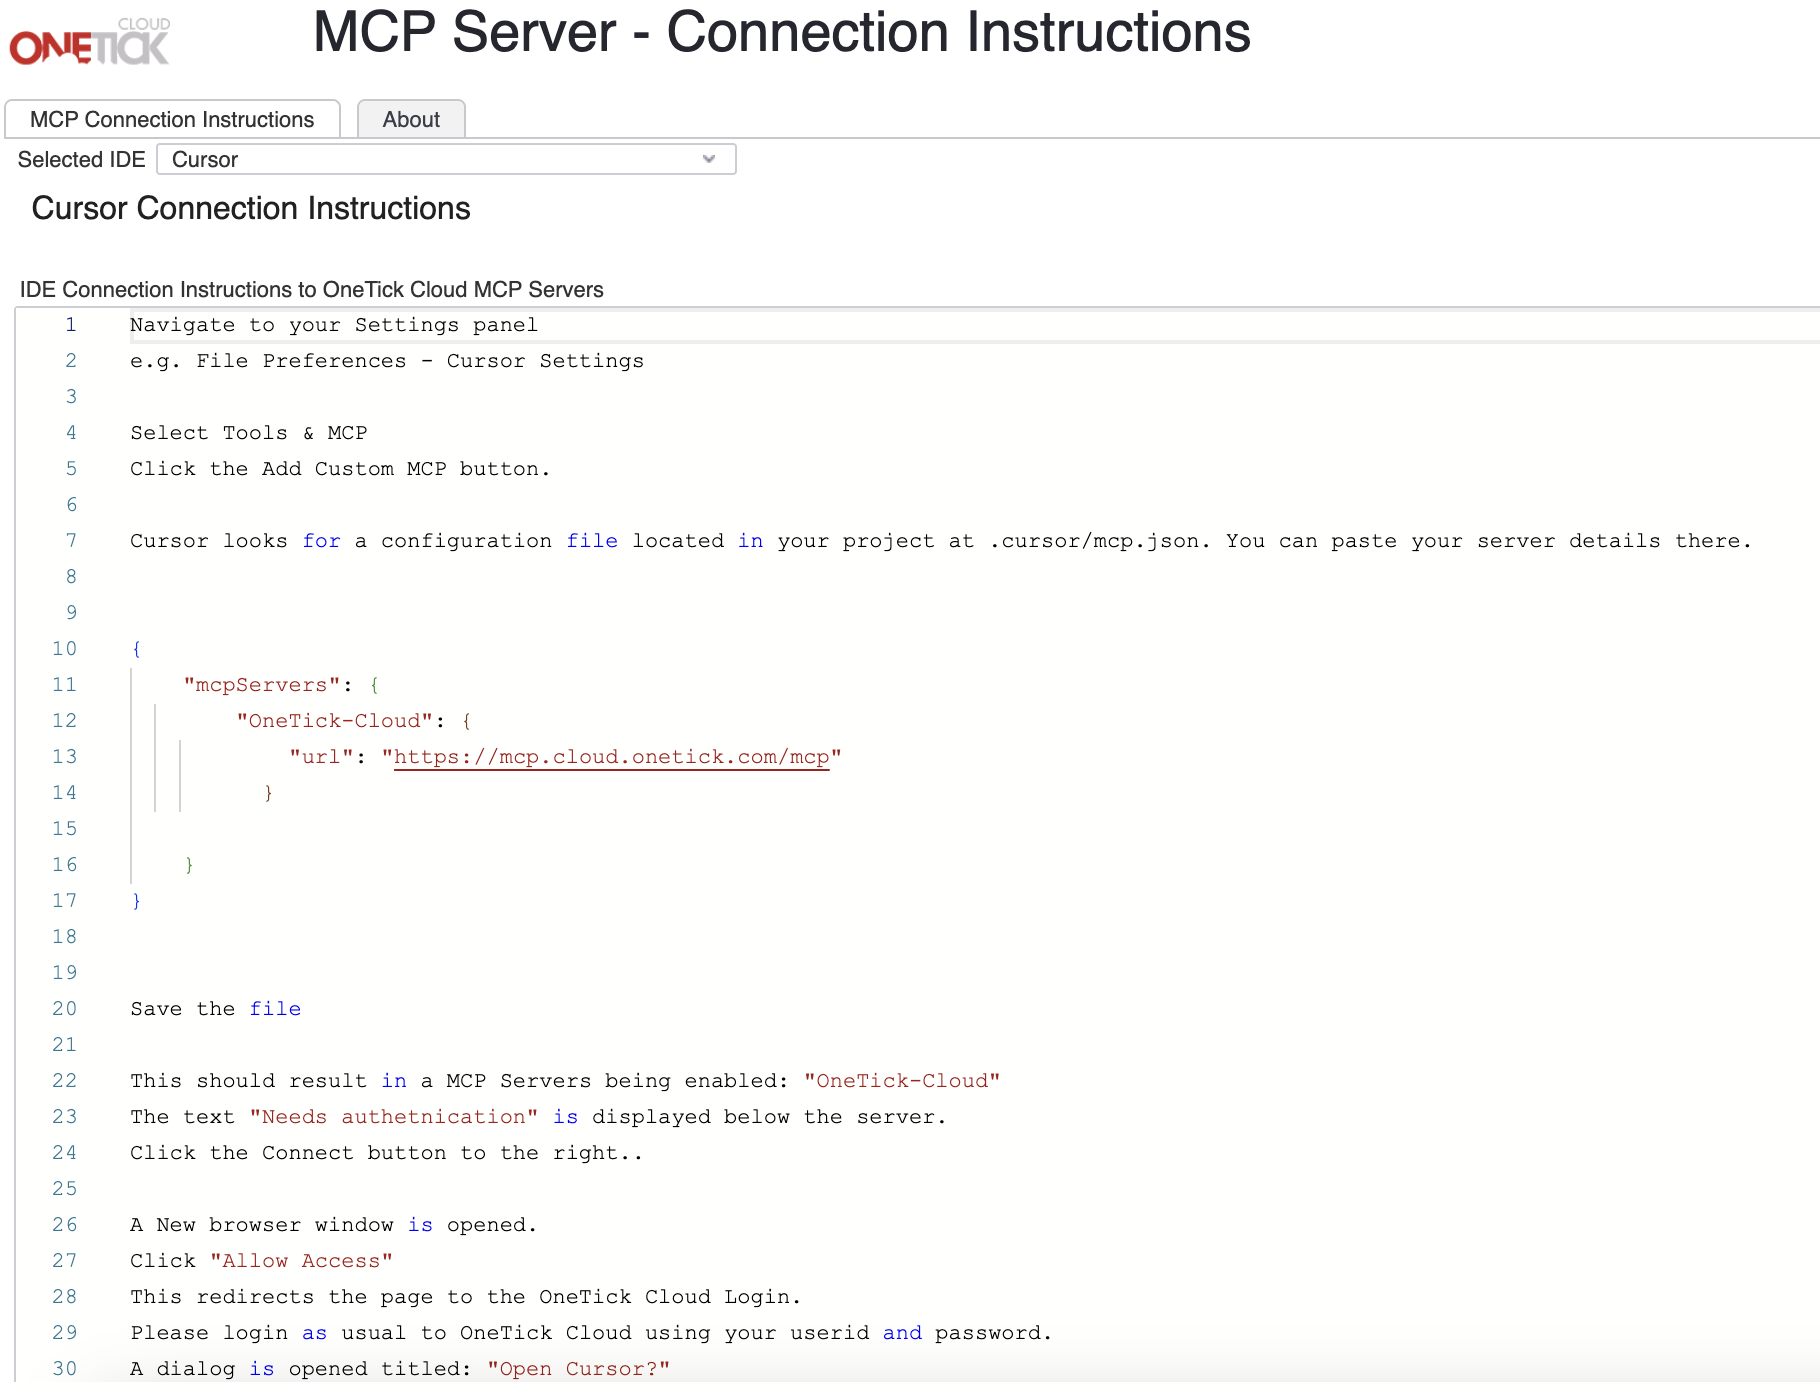
Use the following instructions to get started with Cursor:
-
Navigate to your Settings panel (e.g. File Preferences - Cursor Settings) and select Tools & MCP. Click the Add Custom MCP button.
-
Cursor looks for a configuration file located in your project at .cursor/mcp.json. You can paste your server details there.
{
"mcpServers": {
"OneTick-Cloud": {
"url": "https://mcp.cloud.onetick.com/mcp"
}
}
}
-
Save the file. This should result in a MCP Servers being enabled: "OneTick-Cloud."
-
A dialog is opened titled: "Open Cursor?" Click "Open Cursor."
-
The MCP server is shown as running, with tools enabled. Close Cursor Settings.
-
Click on the AI Chat Icon or Chat Icon, to open the Chat Panel and start a chat session with Cursor.
< Back to MCP Main Page