Claude Code for VS Code

ONETICK CLOUD MCP | CONNECTION INSTRUCTIONS


Use the following instructions to get started with Claude Code for VS Code:


  • Install Claude Code in VS Code by opening the Extensions Marketplace, searching for "Claude Code", and clicking Install.

  • After installation click on the Claude Code icon and start a new chat session.

  • Enter the following commands in the chat to add the OneTick Cloud MCP Server:

claude mcp add --scope user --transport http OneTick-Cloud https://mcp.cloud.onetick.com/mcp

  • In the Claude Code chat prompt enter: /mcp and select MCP servers.

  • A dialog is displayed showing the list of MCP servers, with "OneTick-Cloud," showing a "Needs Auth" button. Click the "Needs Auth" button.

  • A new MCP Servers - OneTick-Cloud - Needs Auth dialog is opened. Click the "Authenticate" button.

  • Another dialog opens showing, "Do you want Code to open the external website?" Click "Open."

  • A New browser window is opened. Click "Allow Access."

  • This redirects the page to the OneTick Cloud Login. Please login as usual to OneTick Cloud using your userid and password.

  • This redirects stating 'Authentication Successful. You can close this window. Return to 'Claude Code.'

  • The MCP servers - OneTick-Cloud dialog now says "Connected." Click the "x" icon to close the dialogue.


< Back to MCP Main Page


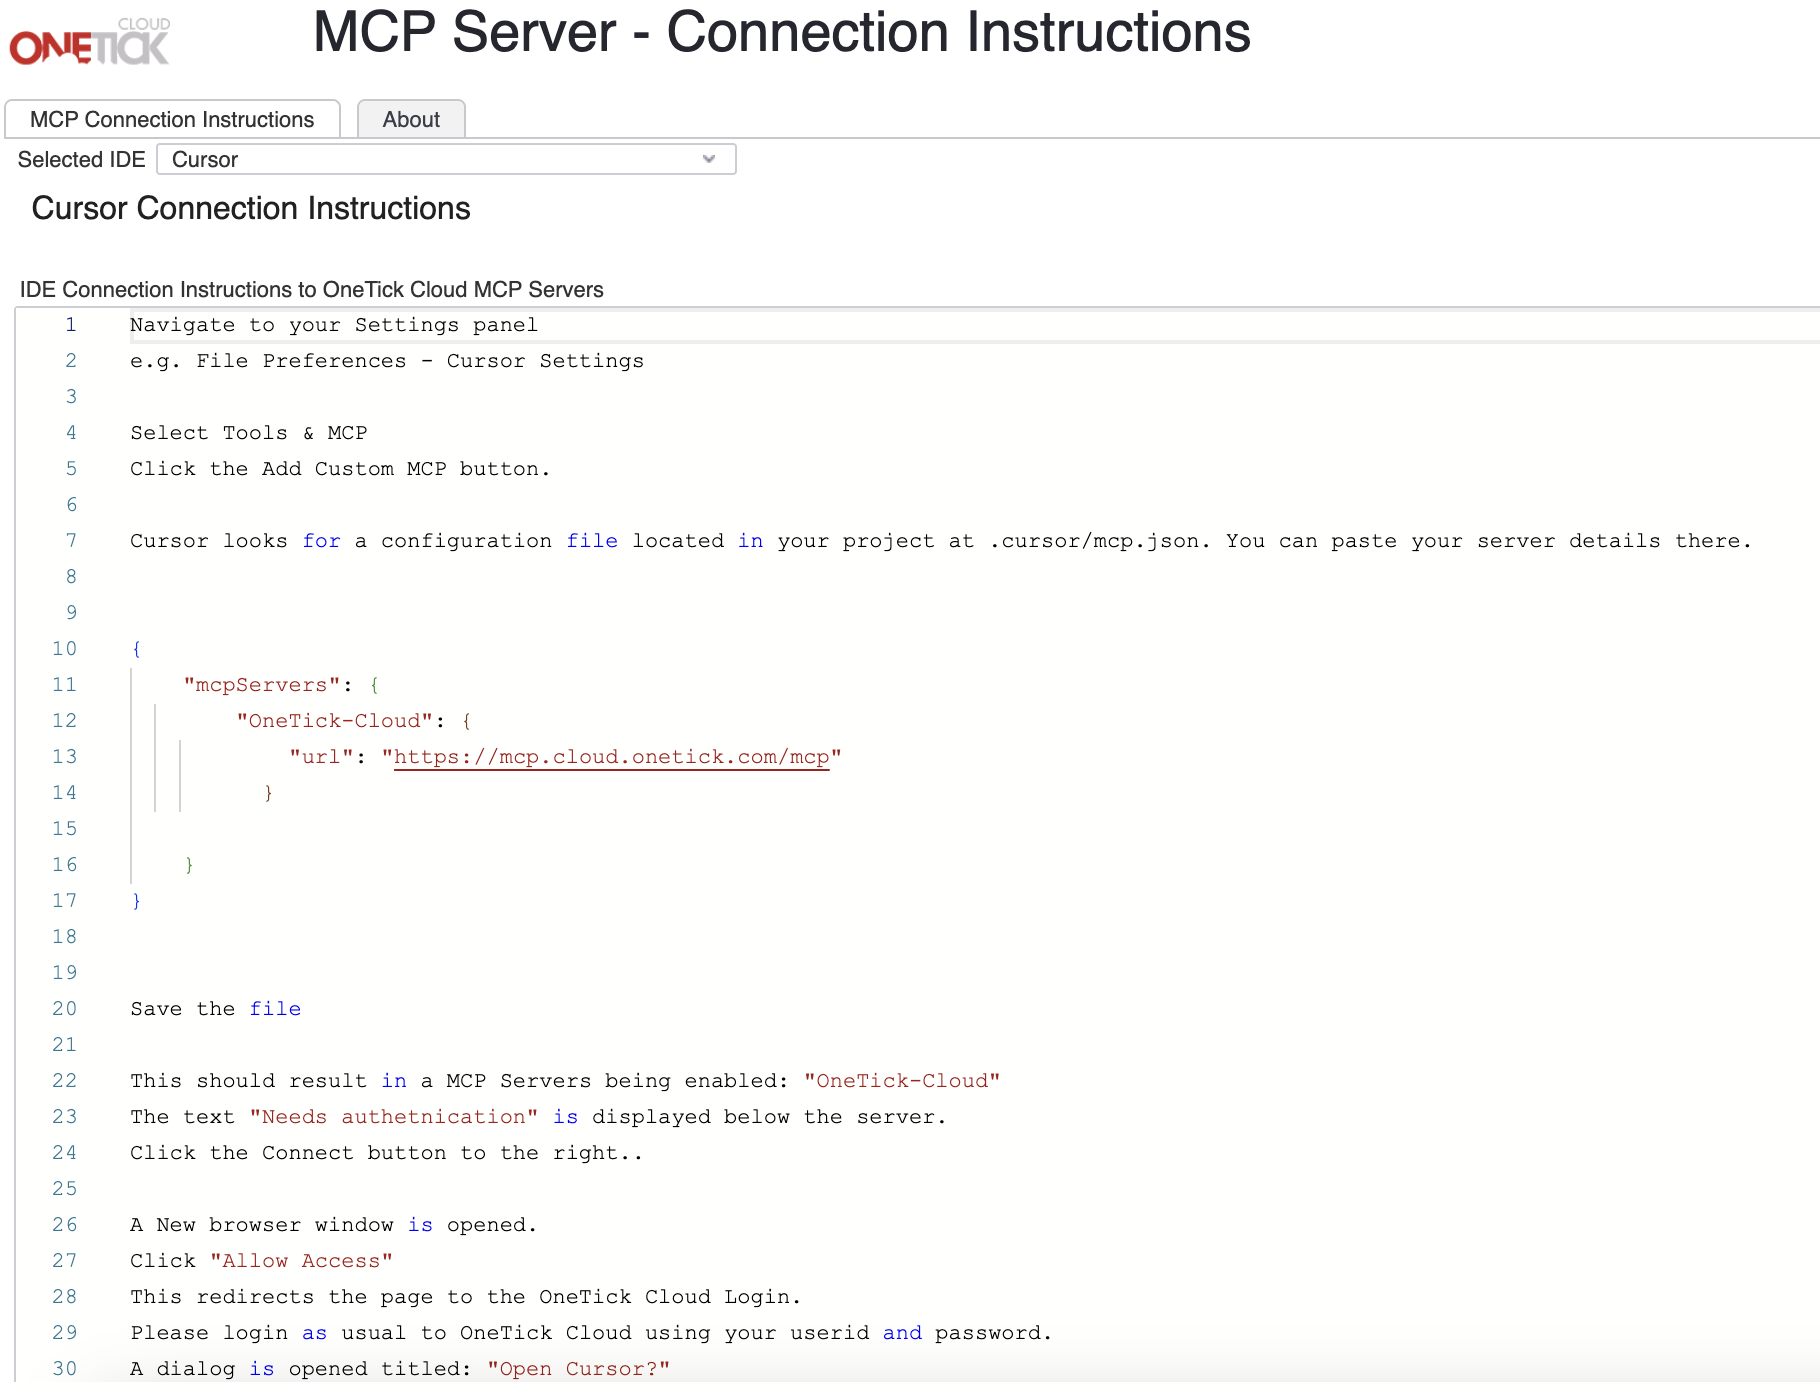
Screenshot 2026-05-18 at 3.49.08 PM


OneTick Cloud MCP Server - Connection Instructions

Login to your OneTick Cloud account today to get started.


Login Here